Advanced features
Overview
This section explains the advanced features available when designing Word templates in Qalyptus Cloud. You will learn how to apply object-level filters, prevent row insertion, control PivotTable presentation, and customize exported object sizes.
Add a filter to an object
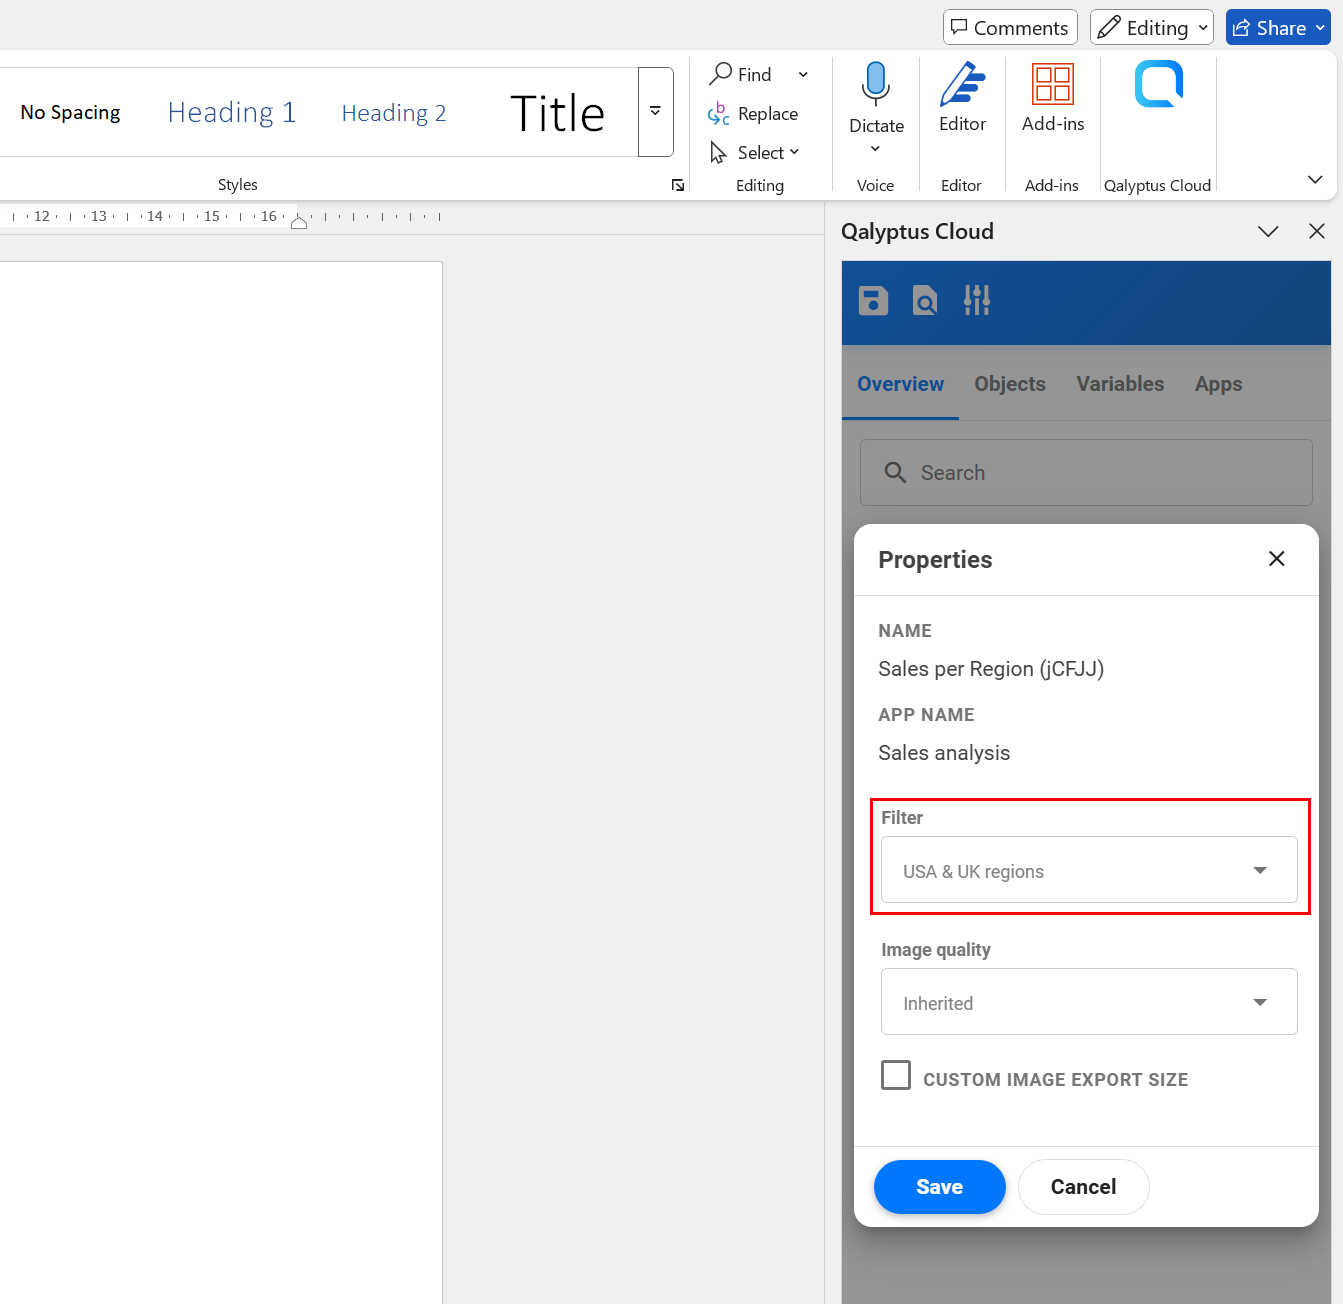
In addition to applying filters at the report level, you can apply a filter to each Qlik object in your template.
To filter an object in the report:
- Open the report template.
- Go to the Overview tab of the Qalyptus Office add-in.
- Click the three dots button next to the object.
- Click Properties.
- Select the filter to apply from the list.
- Click Save.
The object filter is applied after task-level filters or selections made in the Qalyptus Cloud extension.
If the report is an Iteration Report, the object filter is also applied after the iteration selection.
Be aware that Qlik Sense selections can override existing selections if they are outside the current selection scope.
Only one filter can be applied to an object. However, you can combine multiple selections inside the same filter.
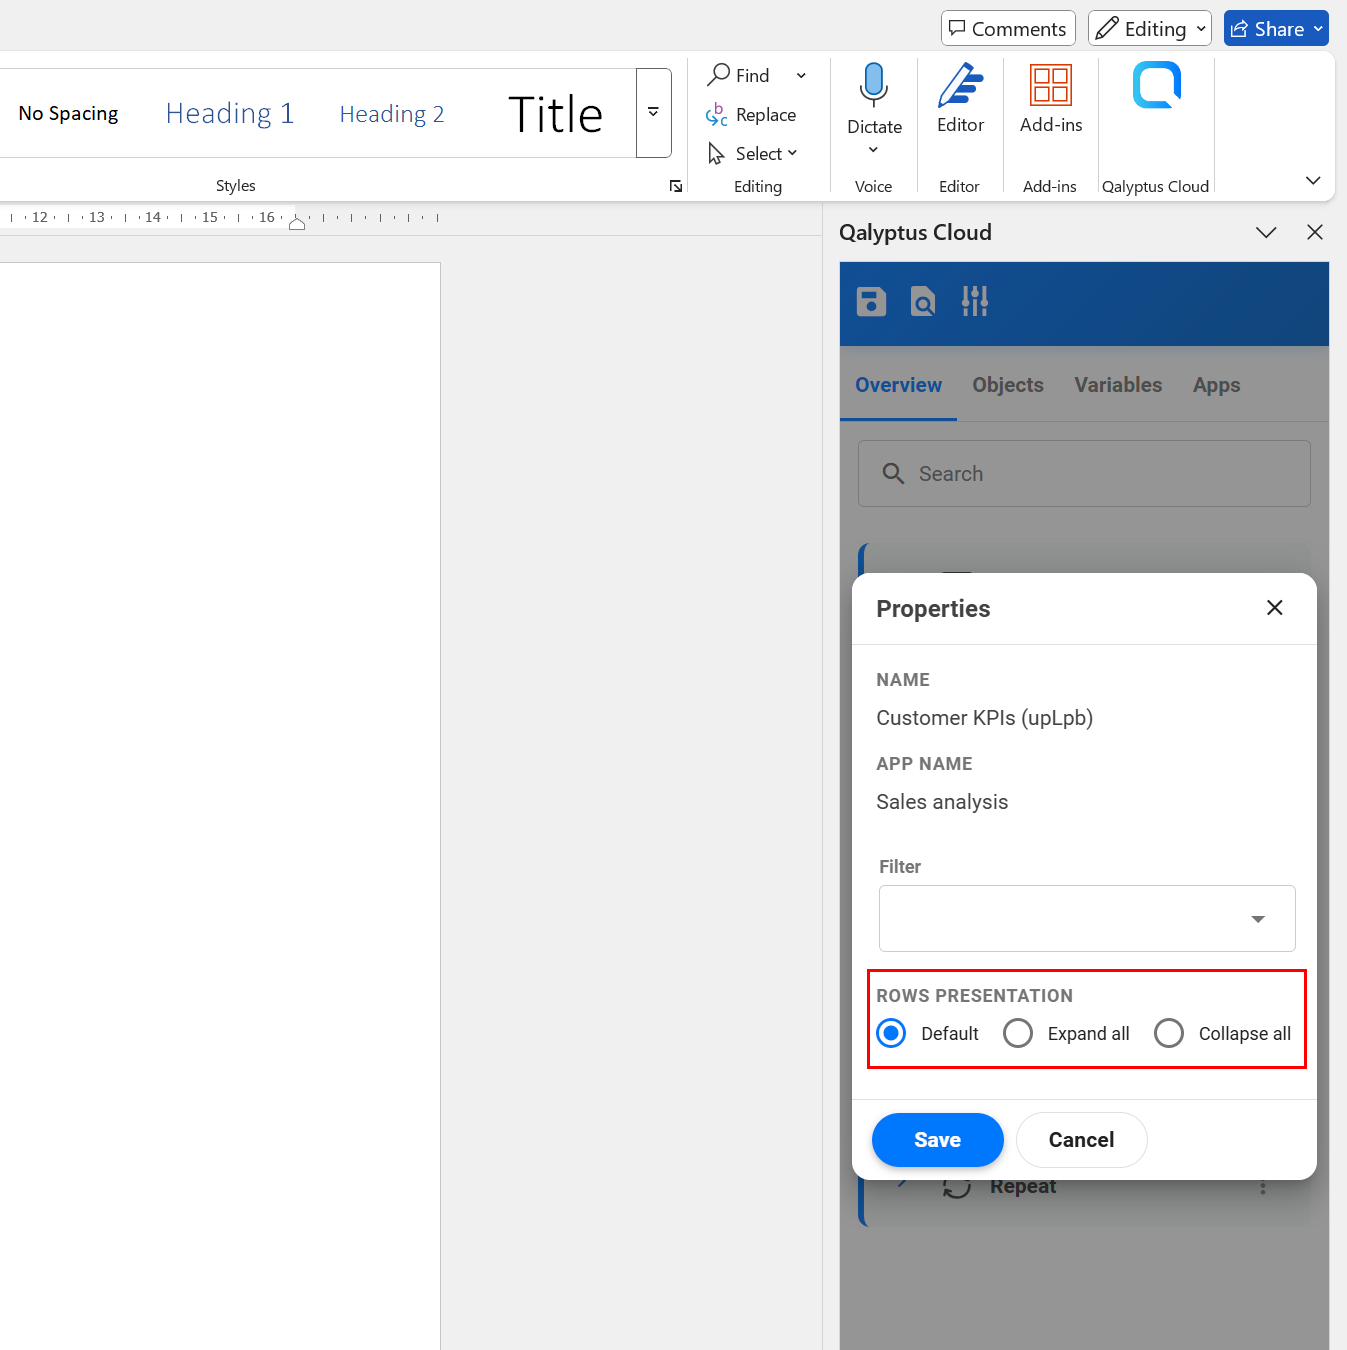
Choose PivotTable rows presentation
By default, PivotTables are exported with the same row presentation as in Qlik Sense.
With Qalyptus, you can override this behavior and choose how the PivotTable is displayed in the report.
Options include:
- Default – Use the same layout as in Qlik Sense.
- Extend all – Expand all levels.
- Collapse all – Collapse all levels.
To change the presentation:
- Open the report template.
- Go to the Overview tab of the Qalyptus Office add-in.
- Click the three dots button next to the PivotTable.
- Click Properties.
- Select the desired Rows presentation option.
- Click Save.
If your PivotTable in Qlik Sense is Fully expanded, Qalyptus cannot apply the Collapse all option.
Export an object with a different size
When you insert a Qlik Sense chart or table as an image, Qalyptus replaces the placeholder with the object image during report generation.
By default, the exported image matches the placeholder size, but you can specify a custom export size.
This is useful when you want to:
- Export larger images to display more details.
- Avoid scrollbars in exported tables.
To customize the size:
- Open the report template.
- Go to the Overview tab of the Qalyptus Office add-in.
- Click the three dots button next to the object.
- Click Properties.
- Check Custom export image size.
- Enter the Height and Width.
- (Optional) Lock the aspect ratio to keep proportions.
- Click Save.
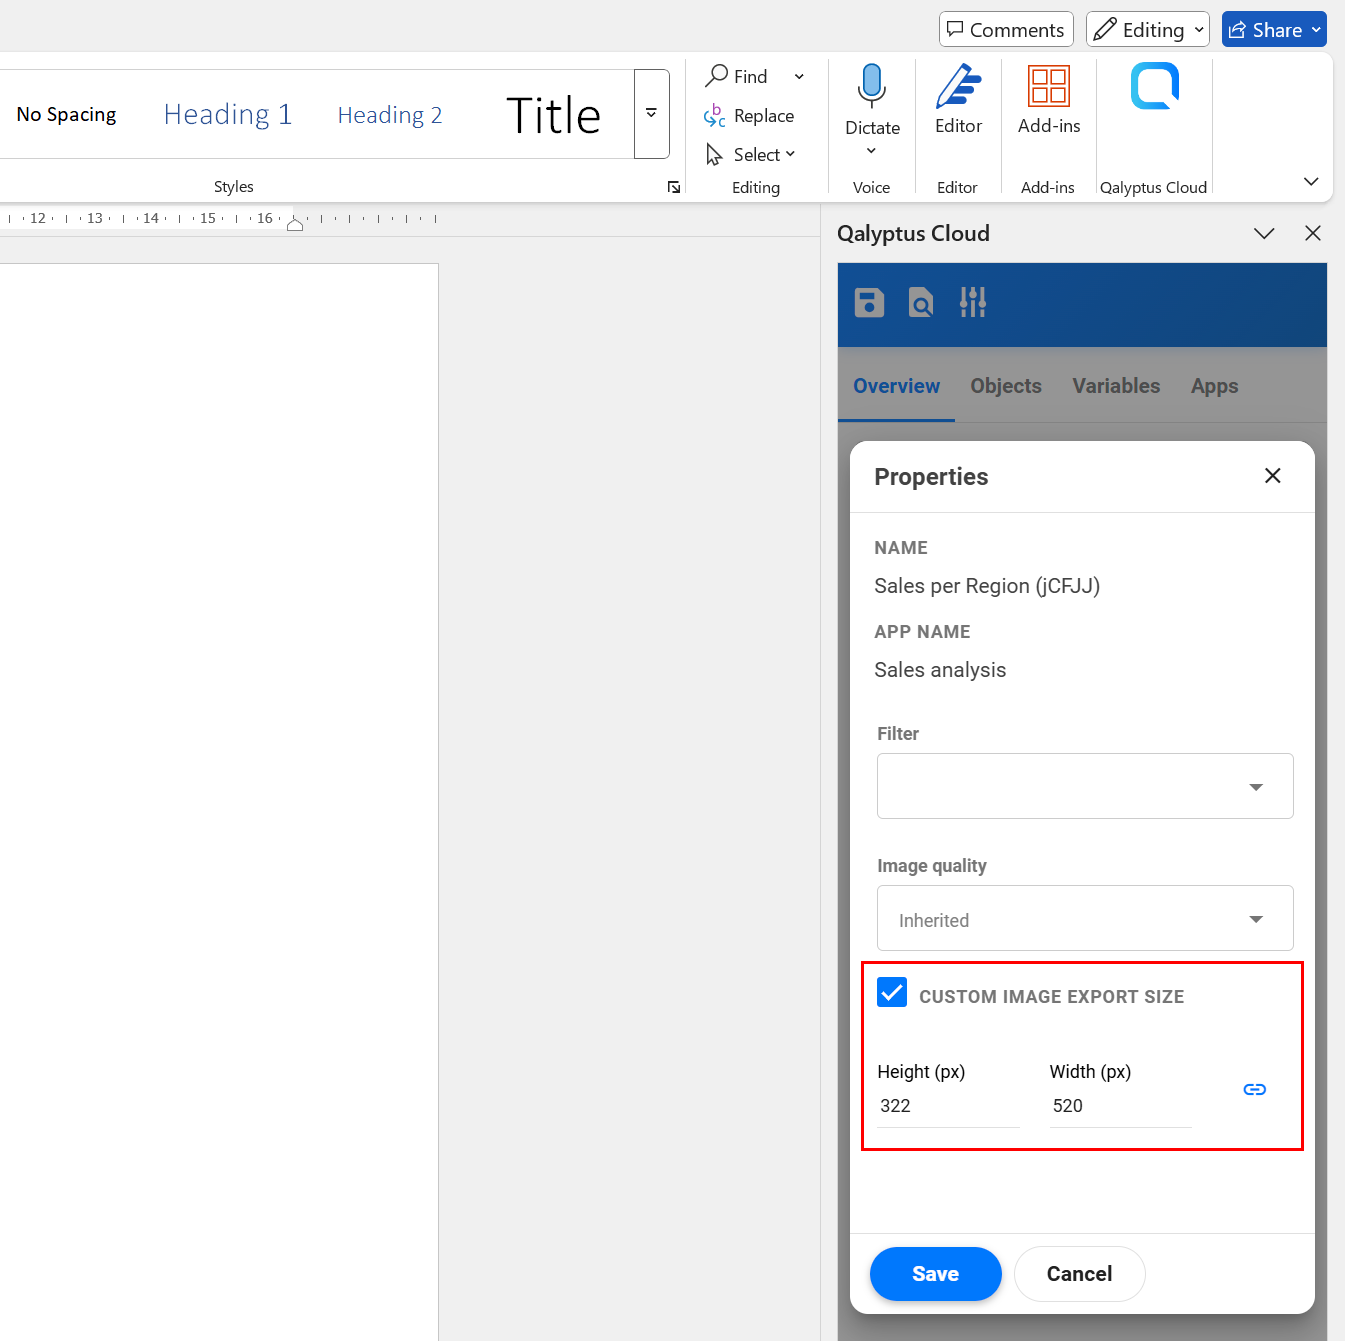
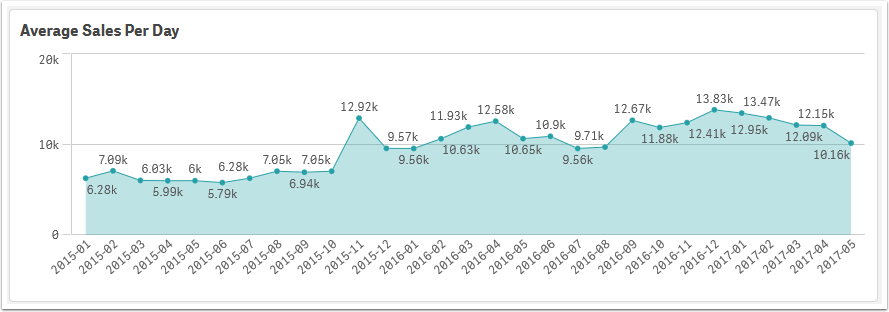
Chart with a small size (default export)
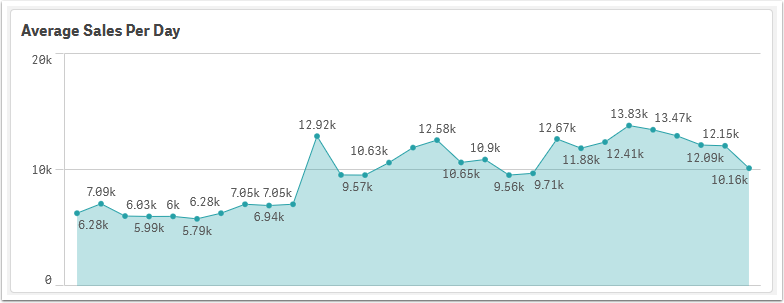
Same chart with a larger export size
Use larger export sizes to capture more details in charts or prevent truncated data in tables.