Install Qalyptus Server
Installing Qalyptus Server is necessary to schedule the generation and distribution of reports to folders or users by email.
The video shows you the installation steps of Qalyptus Server and the necessary configuration to do in your infrastructure.
The video tutorial uses an older version of Qalyptus Server. If you are unsure, please refer to the steps below.
Installation
To install Qalyptus Server, do the following:
-
Download Qalyptus Server from qalyptus.com
-
Locate the installation file.
-
Double-click to launch the installation.
-
On the Select Setup Language screen, choose a language and click Next.
-
Accept the terms of the license agreement and click Next.
-
Choose the installation directory and click Next.
-
On the Ready to Install screen, click Install.
-
On the final installation screen, leave the Launch Qalyptus Server checkbox selected, then click Finish to configure Qalyptus Server before first use.
-
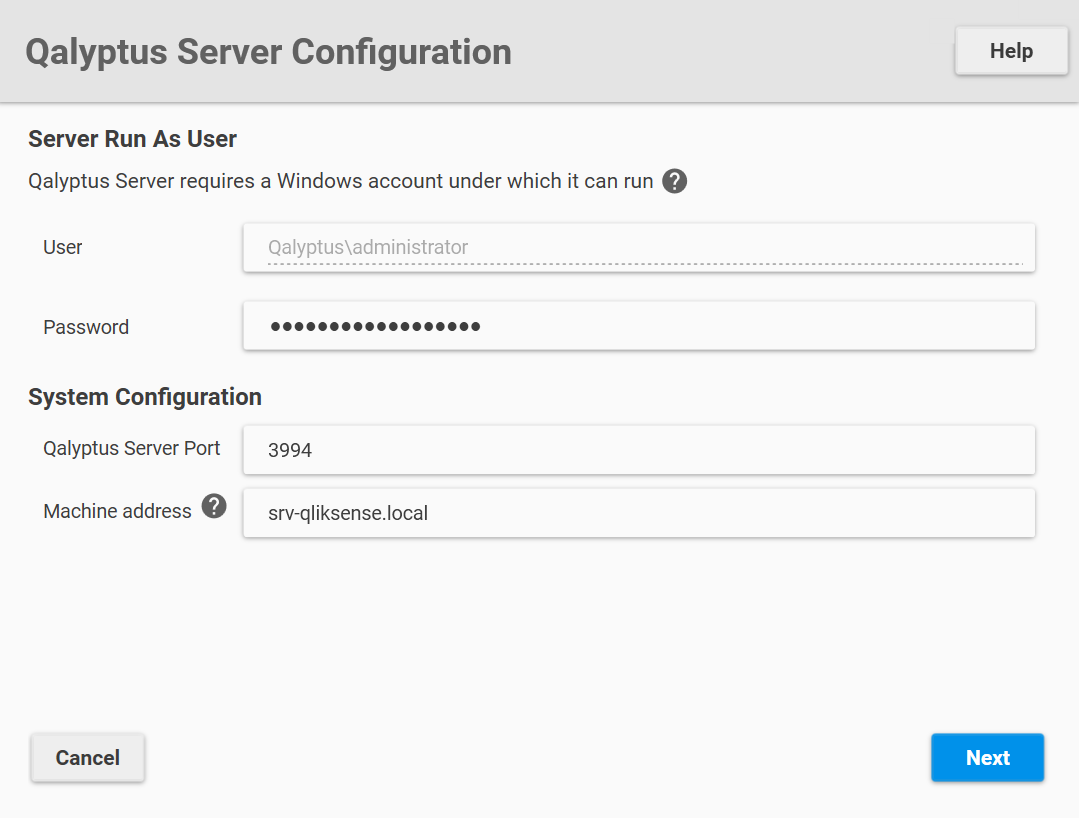
Qalyptus Server Configuration starts.
-
Qalyptus Server needs to run with a user who must be a local administrator. Please enter the user domain account in this format: Domain\UserName and its password.
-
The default port number for Qalyptus Server is 3994. You can choose another port number if another program does not already use it.
-
Qalyptus Server supports HTTP and HTTPS protocols. By default, Qalyptus Server is installed with a self-signed SSL certificate. After installation, you can use another SSL certificate and choose the HTTP protocol.
-
Click Next to continue.
-
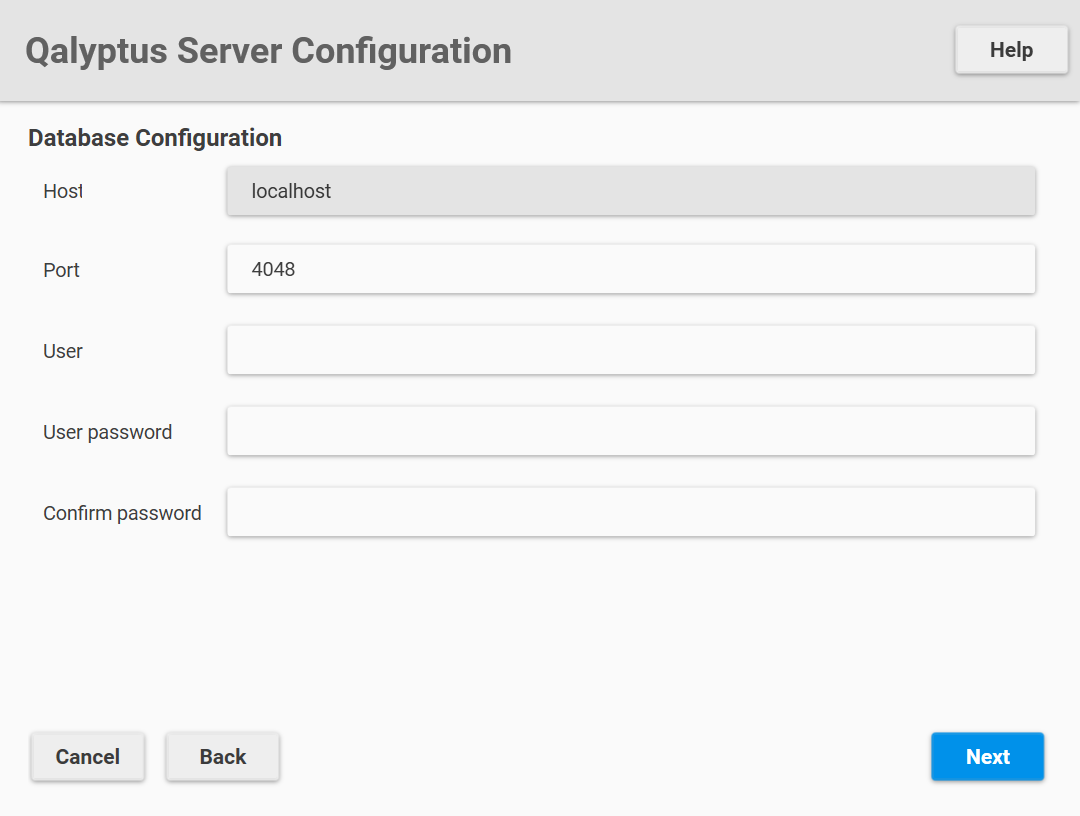
The Database Configuration screen appears.
-
The port number of the Qalyptus Server database is 4048. You can choose another port number if another program does not already use it.
-
Enter a username and password to create a database user required to run your Qalyptus Server instance. Keep the information in a safe place. You might need it if you are reinstalling Qalyptus Server by restoring an existing instance or to connect to the Qalyptus Server database.
-
Click Next.
-
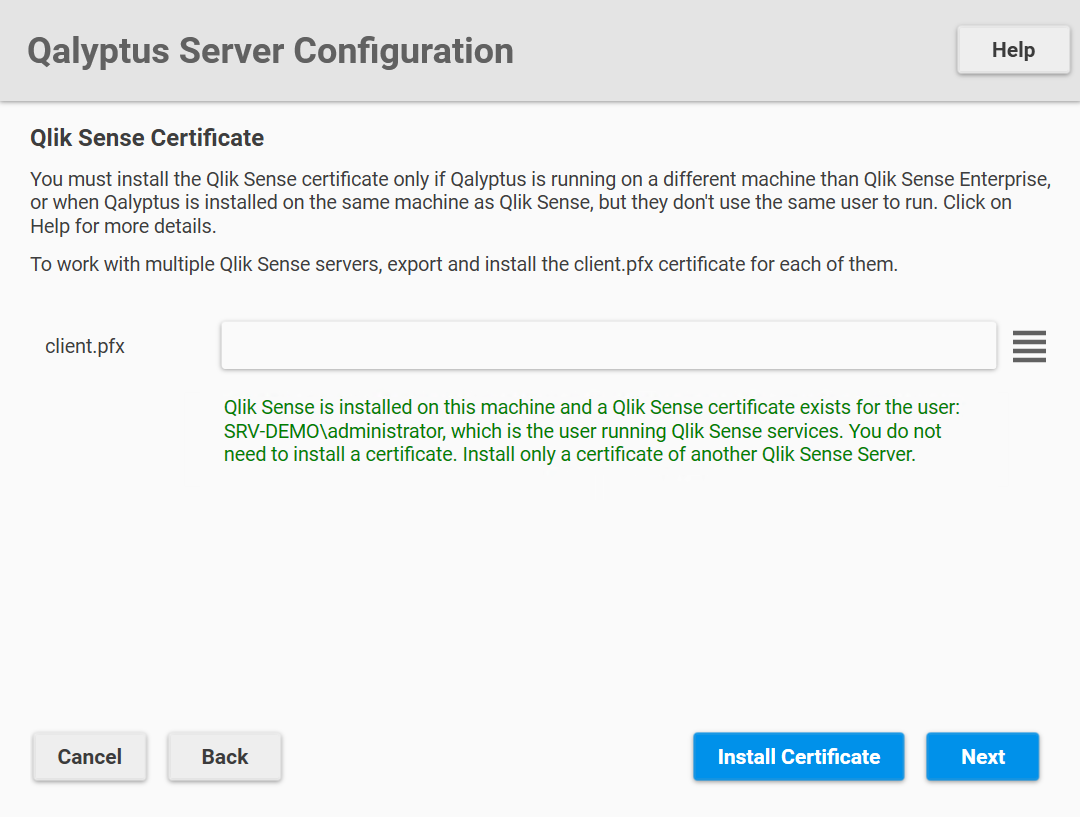
The Certificates of Qlik Sense screen appears.
-
Qalyptus Server needs the Qlik Sense certificate to communicate with Qlik Sense. The certificate must be added to Qalyptus when Qalyptus is installed on a separate machine from Qlik Sense or when it is installed on the same machine as Qlik Sense but with a different user (the user running the Qlik Sense and Qalyptus Server services).
-
Specify the client.pfx path. To export the certificate files, follow the instructions described on this page.
-
Click Install Certificate or Next if you don't need to install it.
-
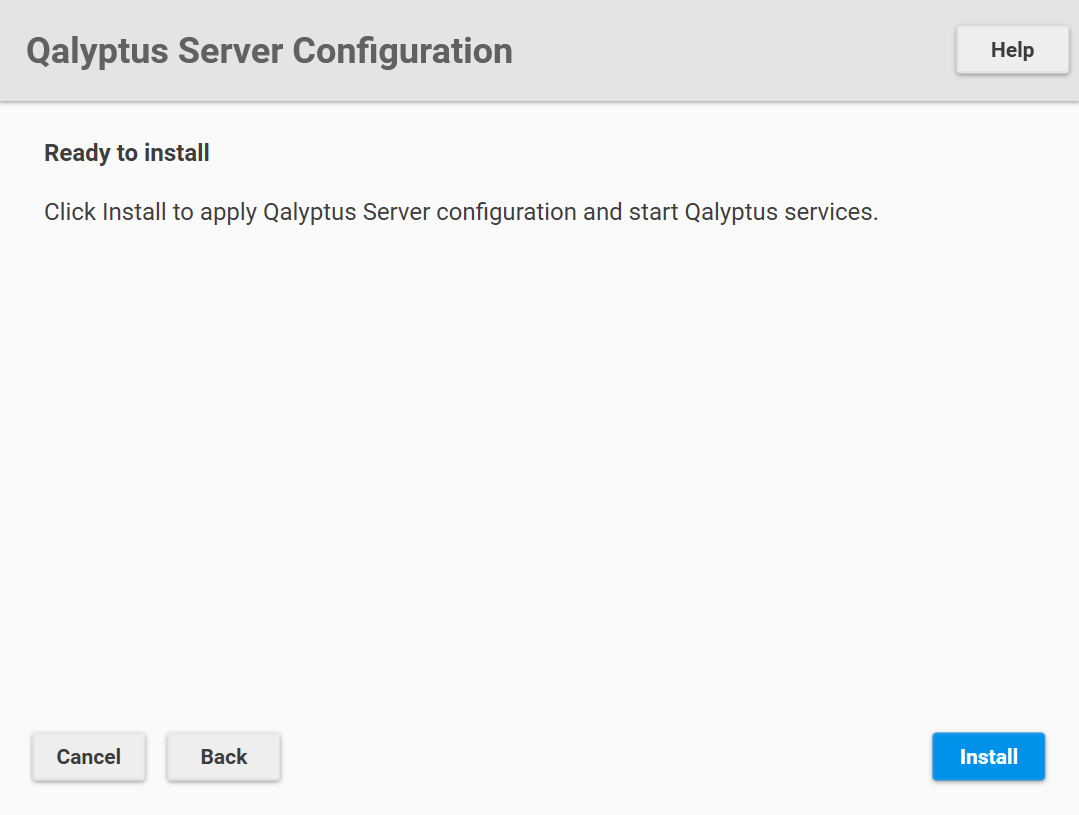
The Ready for installation screen appears.
-
Click Install to install and start the Qalyptus Server services.
-
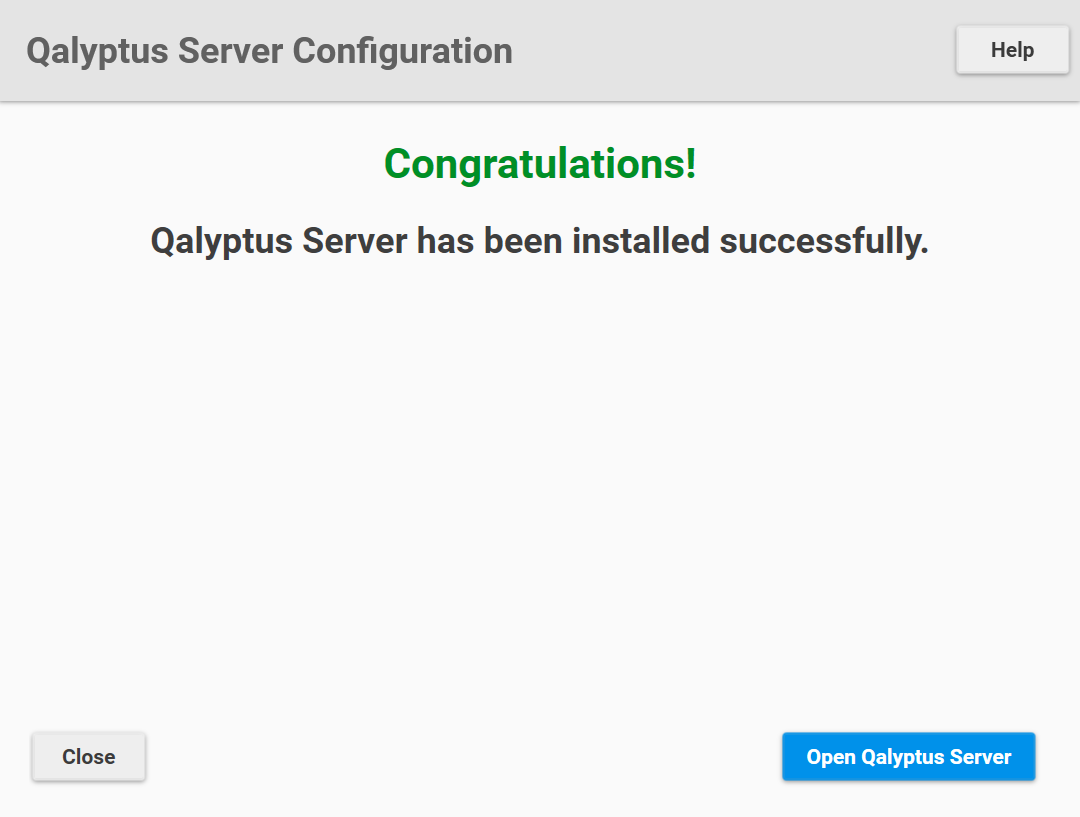
When the installation is complete, the congratulations screen appears.
-
Click Open Qalyptus Server to start using Qalyptus Server.
-
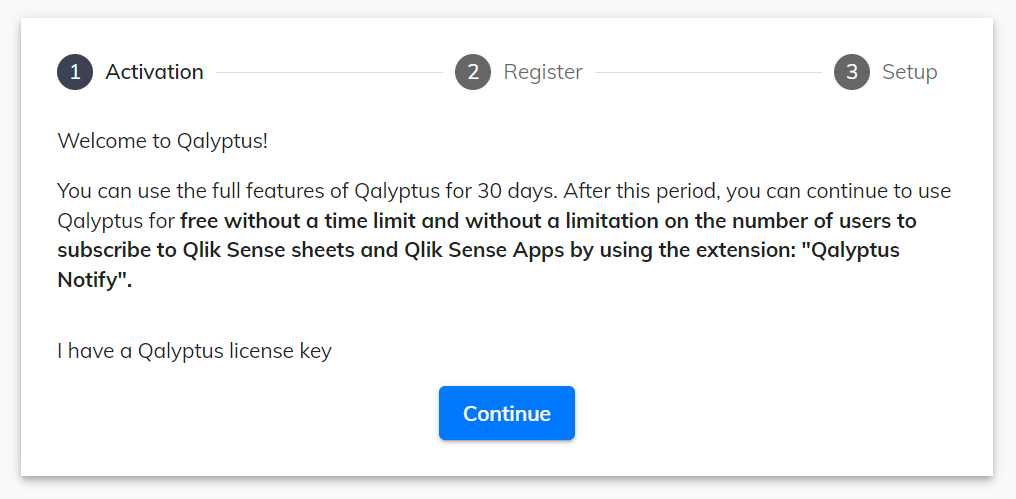
Qalyptus Server opens with your default browser (Internet Explorer is not supported). The first step is to activate Qalyptus Server with a license or start a 30-day trial period. You can use your license to activate Qalyptus Server anytime after installation.
-
Click Continue.
-
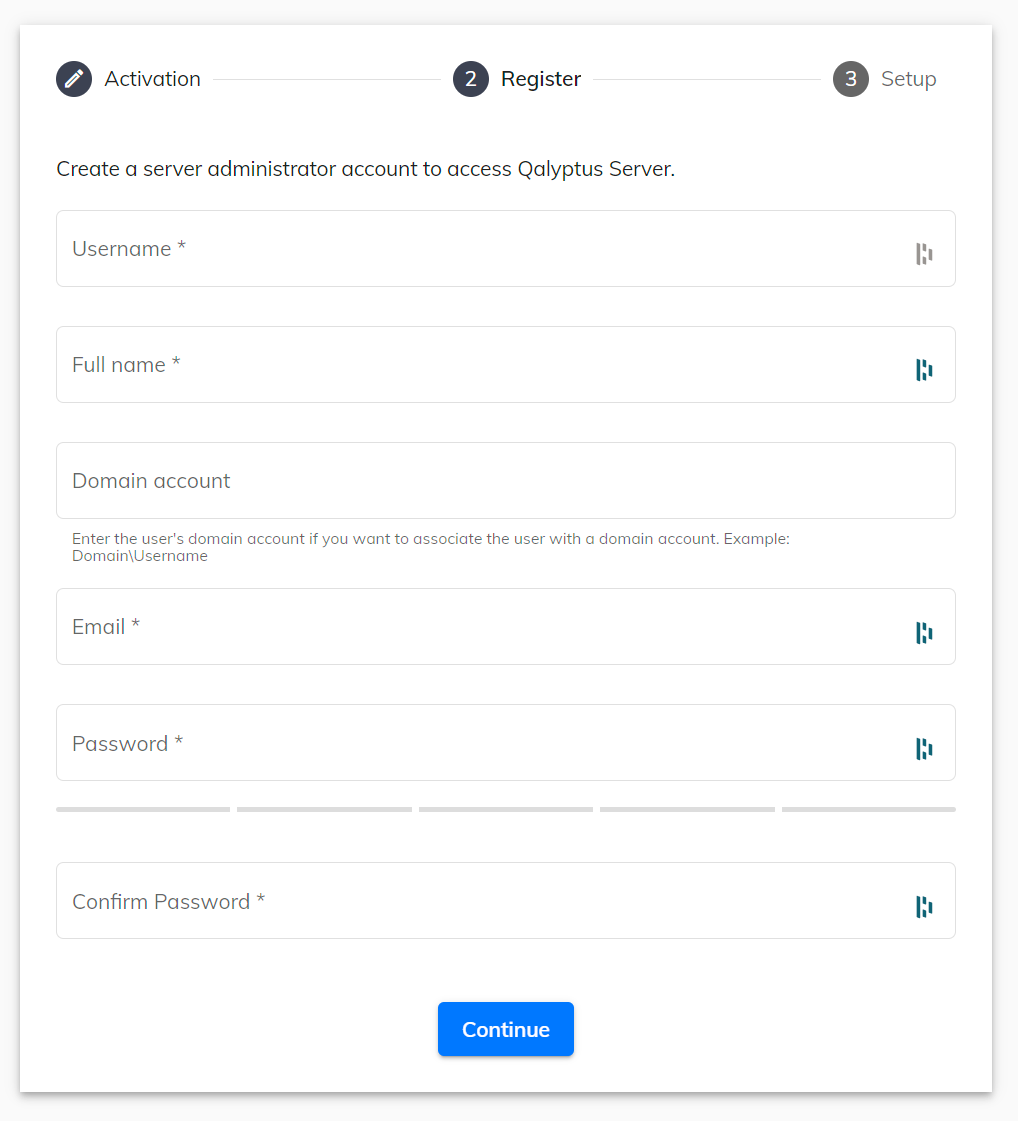
Enter the information of the first Qalyptus Server admin user. The domain account field allows to link the Qlik Sense user to the Windows user and the Qlik Sense user for authentication.
-
Click Continue.
-
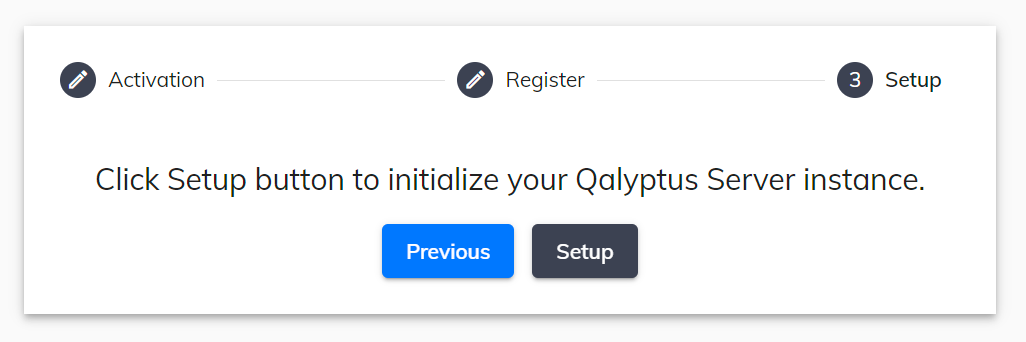
The Setup screen appears.
-
Click the Setup button.
-
Once the installation is complete, you will be redirected to the login screen. Enter the credentials chosen previously to connect.
Open ports
Open Qalyptus Server port
On the machine where Qalyptus Server is installed, open Inbound Port 3994 for Qalyptus Server service. If you change the Qalyptus Server port, open the port you have chosen.
Open Qlik Sense ports
Open Inbound Ports 4747 on the machine where the Qlik Sense Engine service is installed and ports 4242 and 4243, where the Qlik Sense Repository and Qlik Sense Proxy services are installed.
Open ports on the cloud provider (if applicable)
If Qalyptus Server or Qlik Sense are installed in a Virtual machine on a cloud provider (Amazon AWS, Microsoft Azure, Google Cloud, etc.), and you use a public URL to access Qalyptus Server or Qlik Sense, you must open the ports above in the Cloud provider firewall.
To check if the necessary ports are open, you can use one of the following solutions:
1- Open the CMD as an administrator with the user that runs Qalyptus and tape the following command line:
telnet [domain name or ip] [port]
Example: telnet fr-srvqs-01.qalyptus.com 4242
If telnet is not recognized, you can easily enable it if your IT policy allows it. Otherwise, use the second method.
2- Open the PowerShell as an administrator with the user that runs Qalyptus and tape the following command line:
Test-NetConnection -ComputerName "your-server-address.com" -Port 4242-InformationLevel "Detailed"
Example: Test-NetConnection -ComputerName "fr-srvqs-01.qalyptus.com" -Port 4242 -InformationLevel "Detailed"
The next step would be Qalyptus server administration. Please visit this section to learn more..